Getting started
Create your first interactive 3D guide
Start with a demo to learn the workspace, or make a project of your own and turn a model into clear, step-by-step instructions.
1. Choose how to begin
Explore without saving. Open Editor, then choose Blank or a Demo from the Try project source selector in the top bar.
Work on your own guide. Sign in, then create a project from the project library or select Create project while working in a temporary project.
2. Add your model
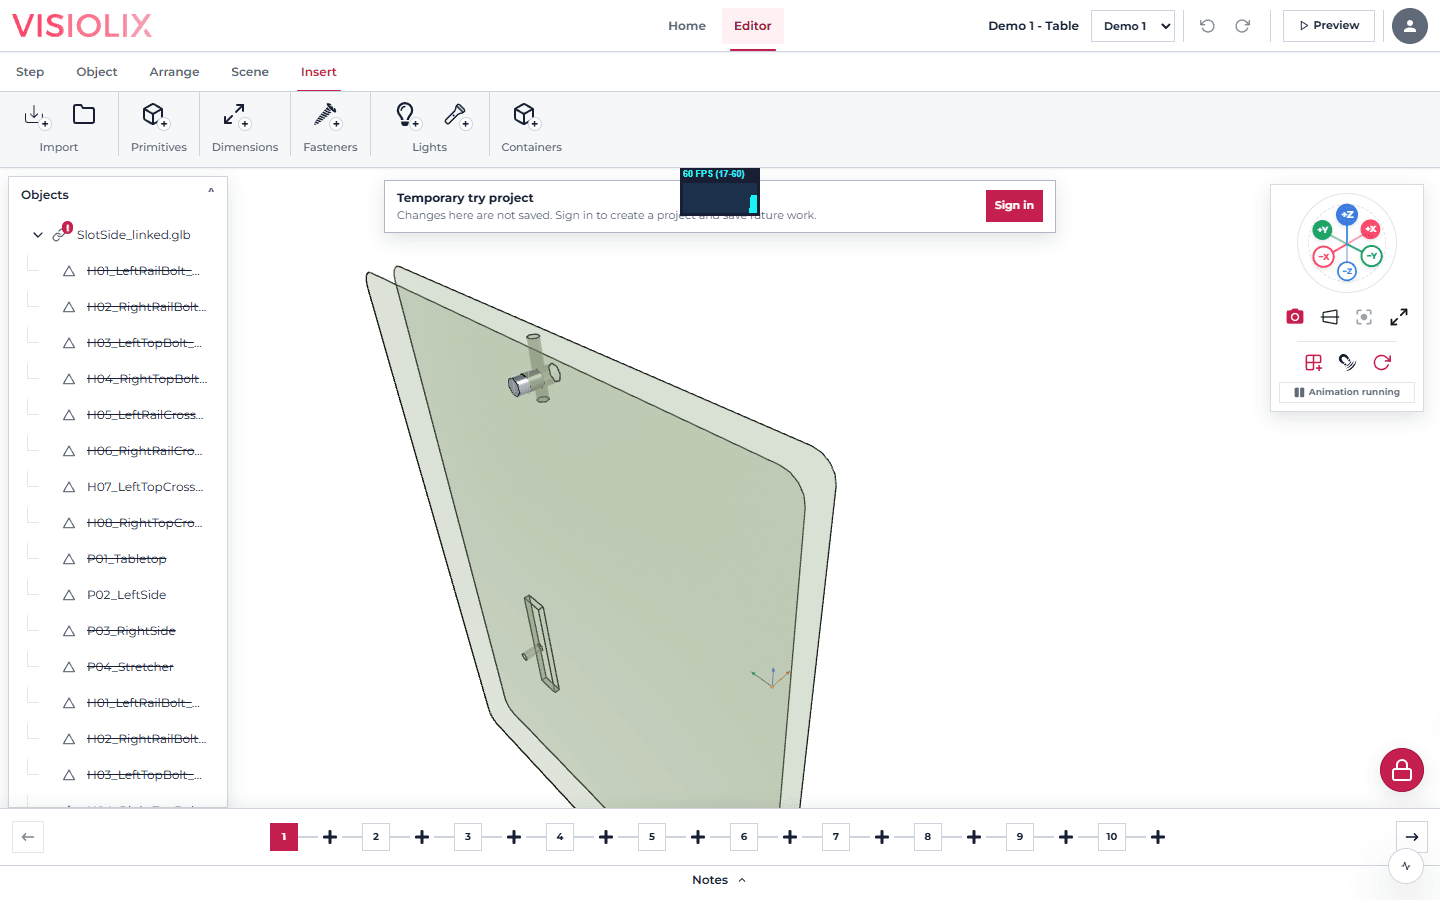
- Open the Insert workspace.
- Select Choose files to import, or use the folder option when the model has companion files.
- Review the scale and import options, then finish the import.
Your imported parts appear in the object tree on the left. Select a part there or directly in the viewport to inspect it.
3. Learn the workspace
- Object tree: select, organize, show, hide, ghost, or lock parts.
- Viewport: inspect your model and use the navigation widget to choose a view, fit the model, or change projection.
- Inspector: edit the selected object’s name, transform, hierarchy, and materials.
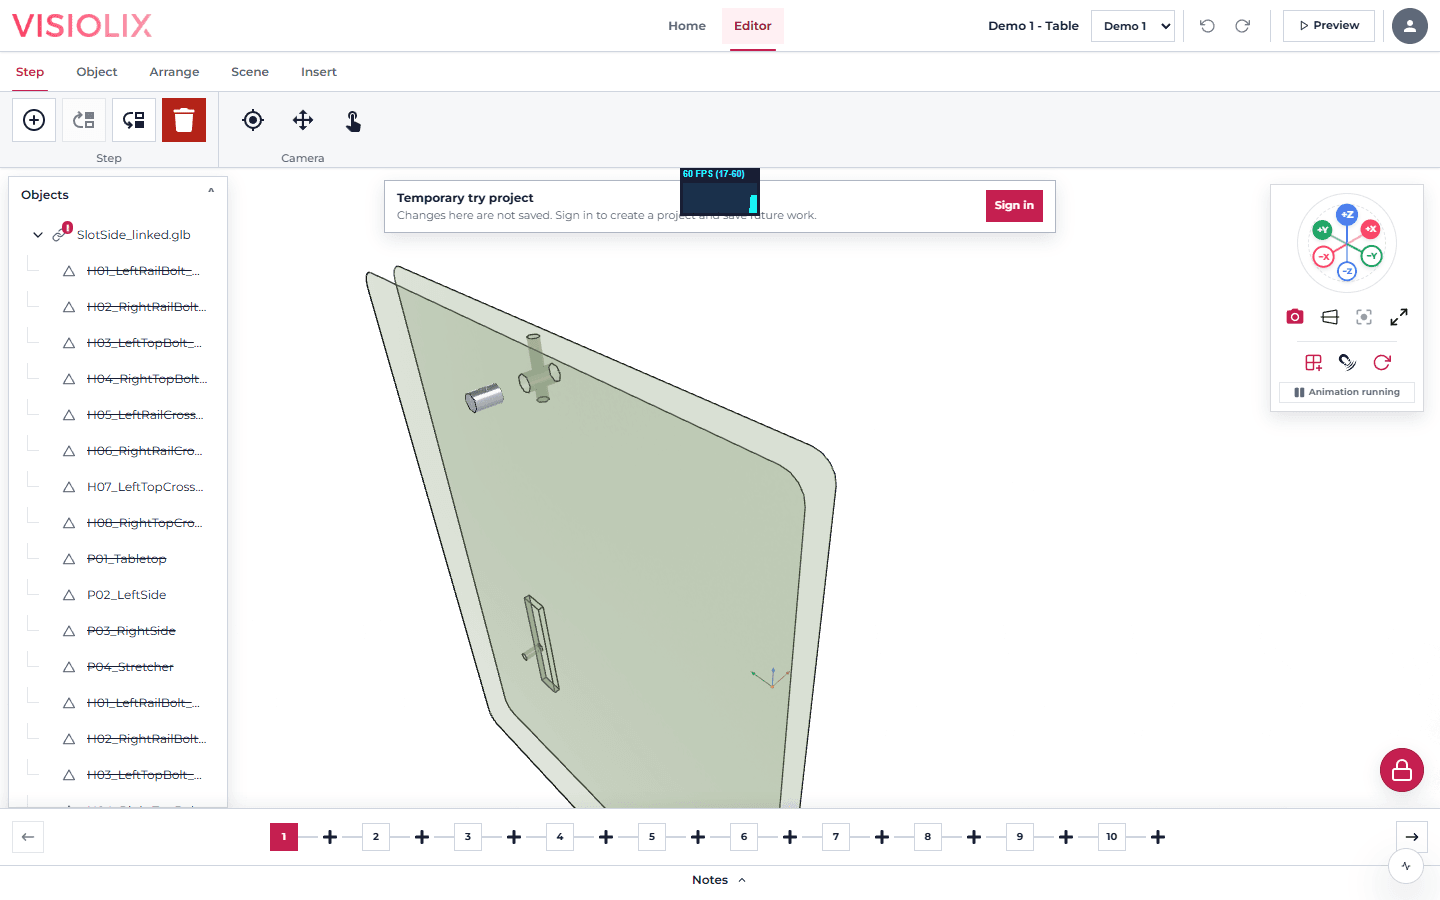
- Timeline and notes: move between assembly steps and add the instructions readers need.
4. Build the guide
- Use the Step workspace to insert a step after the current one.
- For each step, adjust the visible parts, camera view, and notes so the next action is clear.
- Use the Object workspace to move parts, set pivots, or add animation where movement needs to be shown.
- Add dimensions or annotations from Insert when a guide needs a precise reference or explanatory label.
5. Review before sharing
Use Preview project to experience the guide as a reader. Check each step in sequence, verify the notes and visibility of parts, and save your project as you work. When the guide is ready, manage its visibility and sharing from the project library.