Projects and files
Set up, import, and maintain your project
Learn where Visiolix keeps your work, how to bring in 3D models, and how linked source files help you keep an assembly current.
Projects and project library
Your project is the saved home for a guide: its models, steps, notes, presentation settings, and other authoring work stay together.
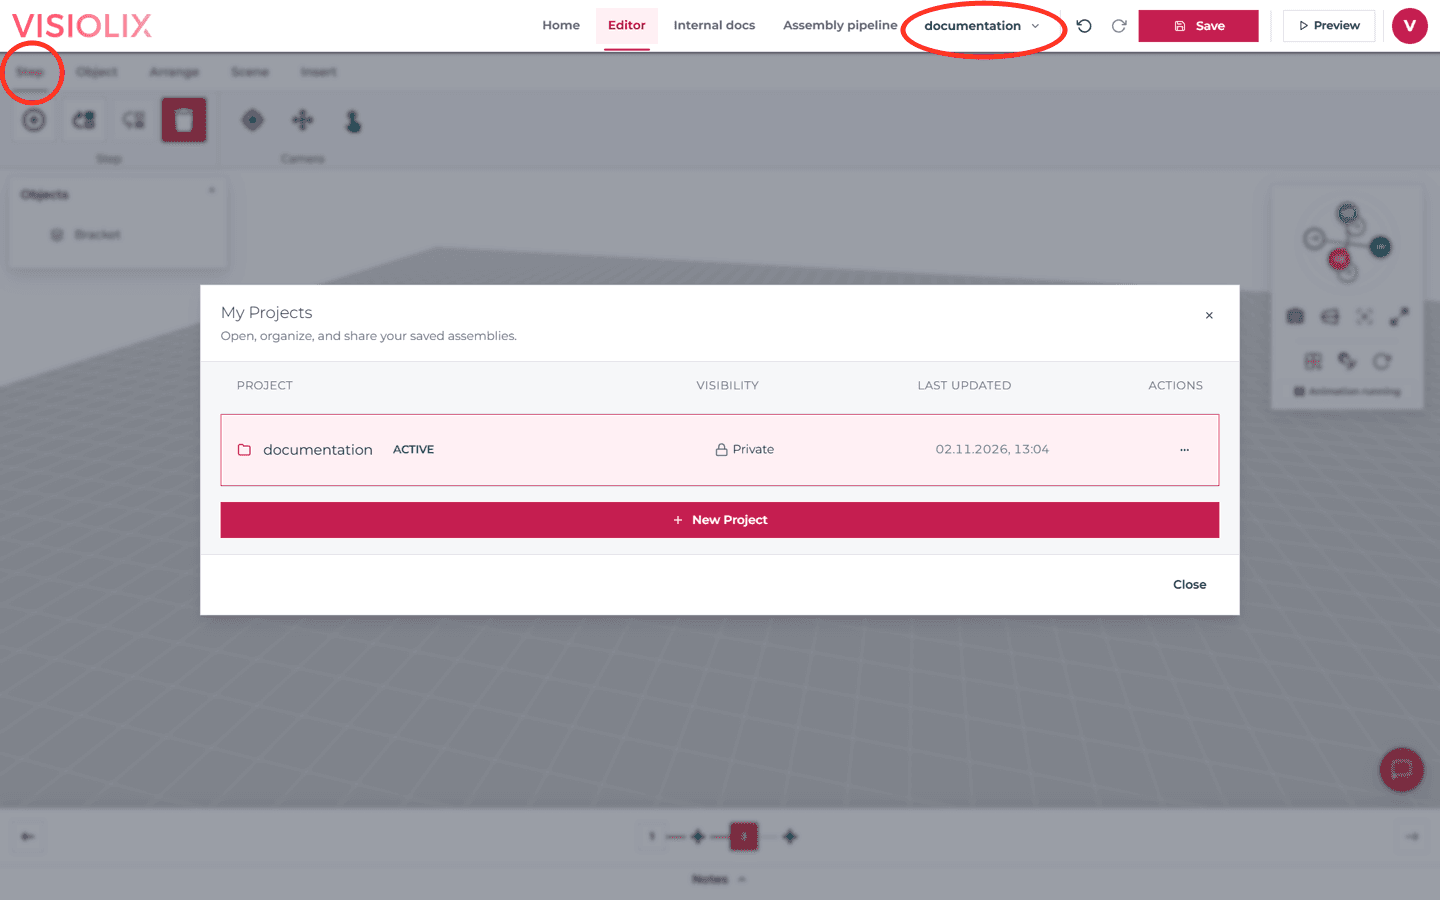
- Open the project control in the editor’s top bar to open the project library.
- Create a project to start a saved guide, or open an existing project to continue working.
- Use the project library to rename, duplicate, preview, or remove a project when needed.
Temporary Try projects are not saved. They are useful for exploring the editor or a demo. Select Create project before you need to keep your changes.
Importing 3D models
Use the Insert workspace to add models to the current project. Visiolix supports common 3D formats including STEP, STL, OBJ, glTF, and GLB, as well as image files.
- Open Insert, then select Choose files to import.
- Import a folder with companion files is for models that depend on files stored beside the main model file. Use it for an OBJ with its MTL material file and texture images, or a glTF with its BIN file and textures. Select the folder that contains the model and its related files, and keep that folder structure unchanged so Visiolix can find every companion.
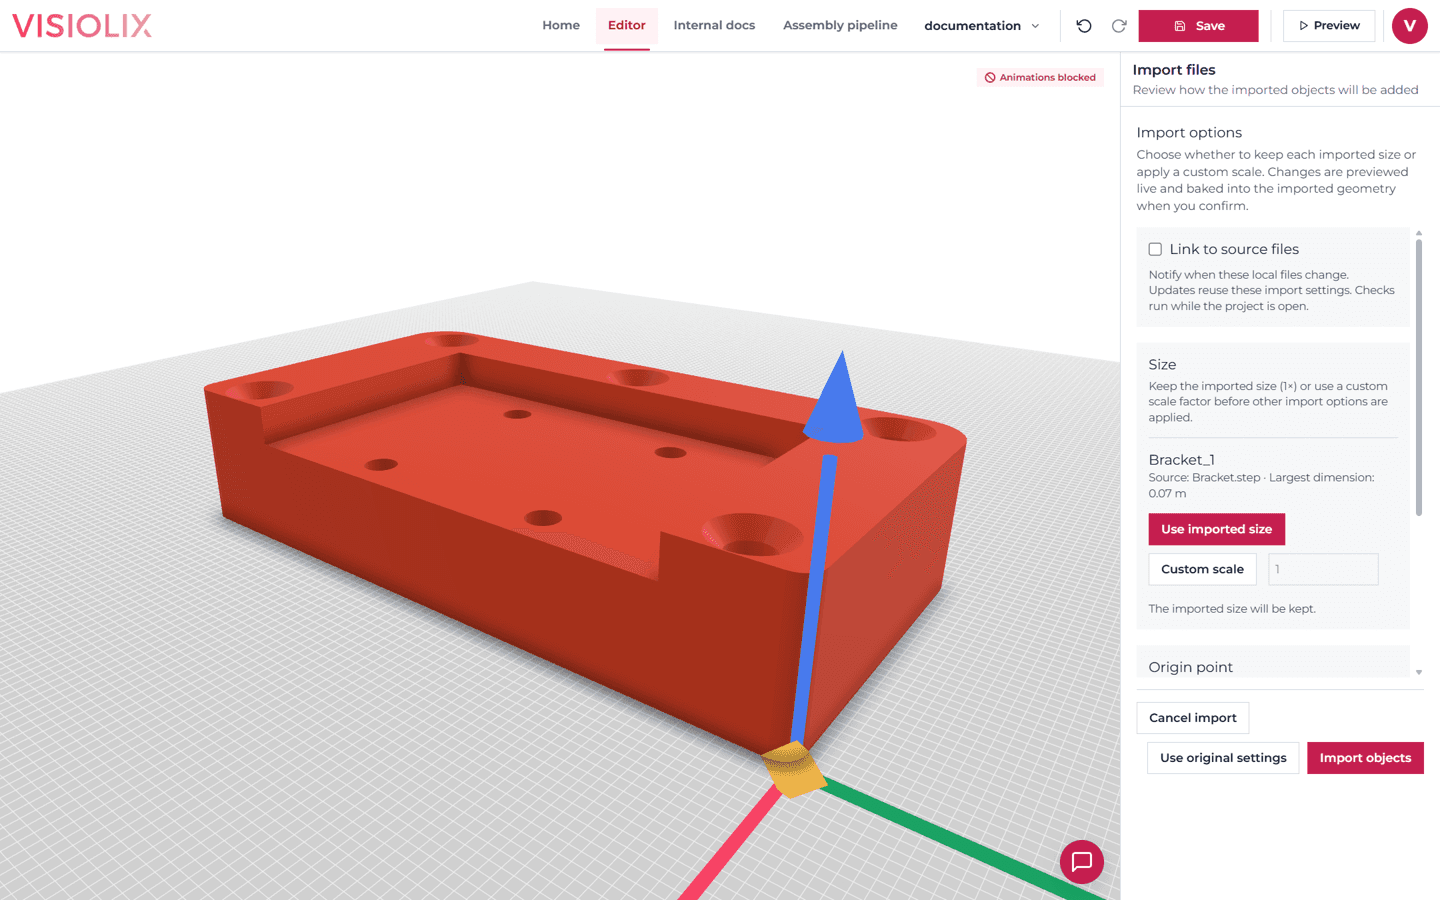
- Review each imported object before confirming the import:
- Scale: keep the original 1× size when the displayed largest dimension looks correct. Use a custom scale only when the source model is clearly too large or too small.
- Origin: choose Object center to place the object’s pivot in the middle, Bottom center for an object that should sit on a surface, or Source origin to preserve the coordinates supplied by the original CAD assembly.
- Split into loose parts: turn this on when disconnected pieces should become separately selectable, movable, or animated objects. Leave it off when the model should remain one object.
After import, use the object tree and viewport to select the new content and arrange it for the first step of your guide.
Linked model sources
When importing from a local file in a supported browser, you can keep the source files linked. This lets Visiolix check whether the original model has changed after import.
- Enable linking during import and choose how frequently Visiolix should check the local source.
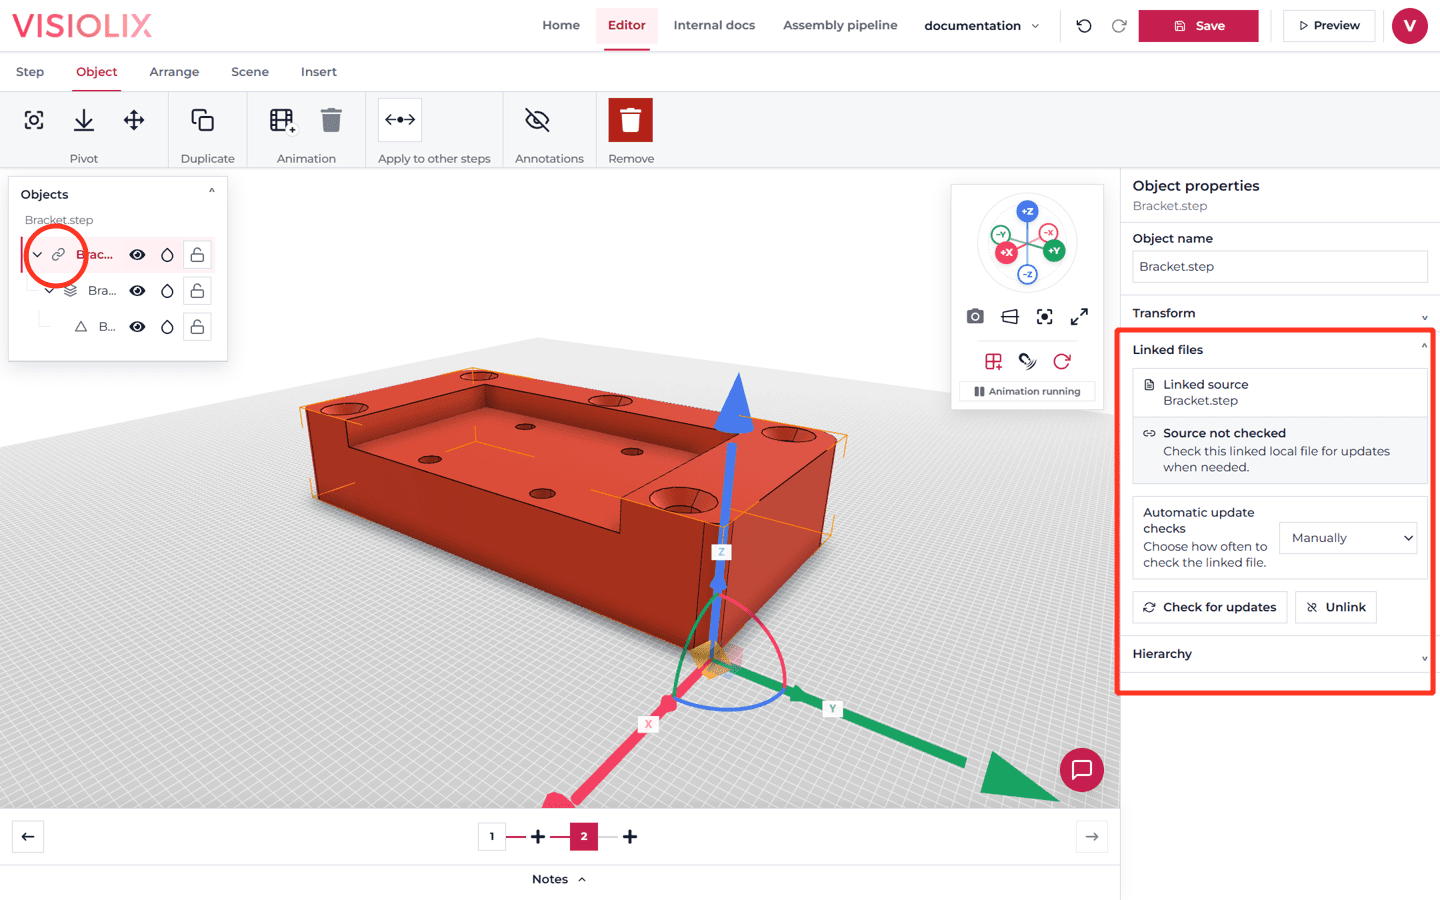
- Select the linked source root in the object tree to view its Linked files details in Object properties.
- Choose Check for updates; when a change is available, review and apply Update objects.
Keep companion files together. If Visiolix needs access again, reconnect the same source files and folder structure. You can unlink the source at any time and keep the imported objects in the project.